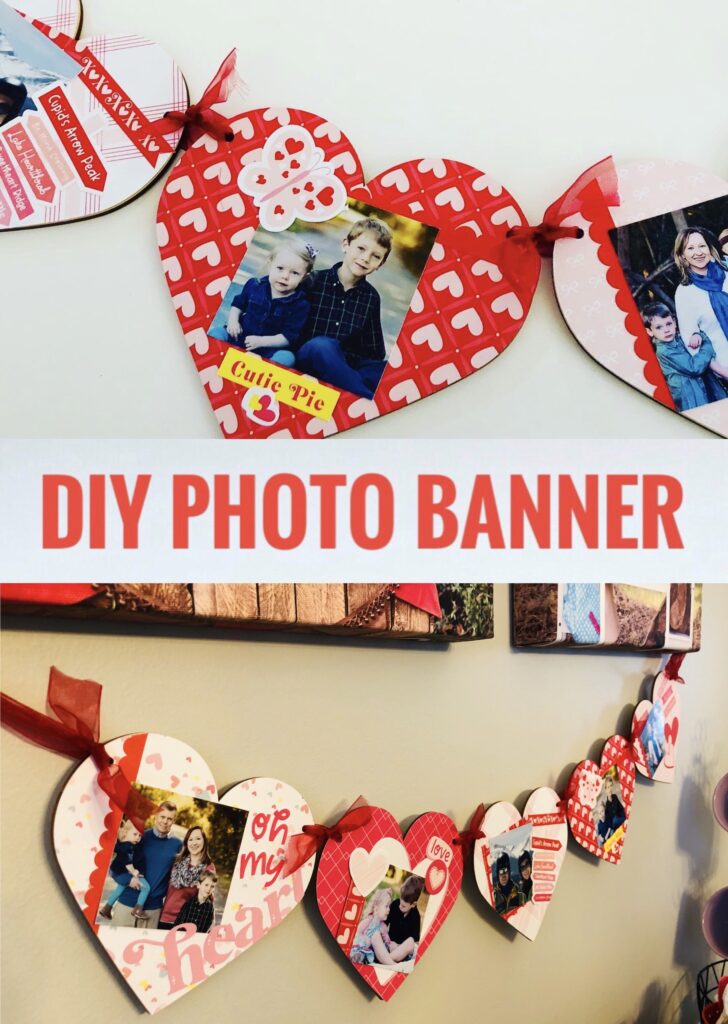
This weekend I worked on a very special project! I love decorating for Valentine’s Day and I must also love heart banners. This is the third one I have posted! This one is a Photo Heart Banner though. The pictures are what make it extra special.
A photo banner does not have to be just for Valentine’s Day! This would be a cute project for a birthday or anniversary as well. I can see this as an adorable decoration for a baby’s first birthday.
I did use our photo banner as a Valentine’s Day decoration and picked five of my favorite pictures of our family. If you are a pet owner, this would be cute done with pet photos and different themed paper.
This post does include affiliate links. That means I could earn a tiny portion of any sale that is made through clicking on any of these products with no additional cost to you. All support is greatly appreciated!
Wooden Heart Banner Kit
To create this banner, I used the wooden hearts from Close to My Heart. This set comes with an awesome SVG file that includes a few sentiments and the heart shape.
I was able to use my Cricut machine to cut the hearts to fit the wooden pieces perfectly. They made this so easy!
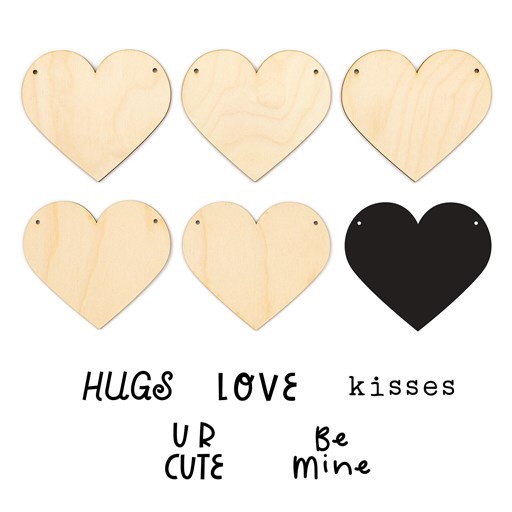
This collection is only available through February though. Don’t worry if you miss out! You can still easily create a heart banner with paper by hand. I also found this cute set from Amazon.
Oh My Heart Paper Collection
The Oh My Heart Paper Collection was perfect for creating this banner. I used the paper pack and sticker collection for this photo banner project.
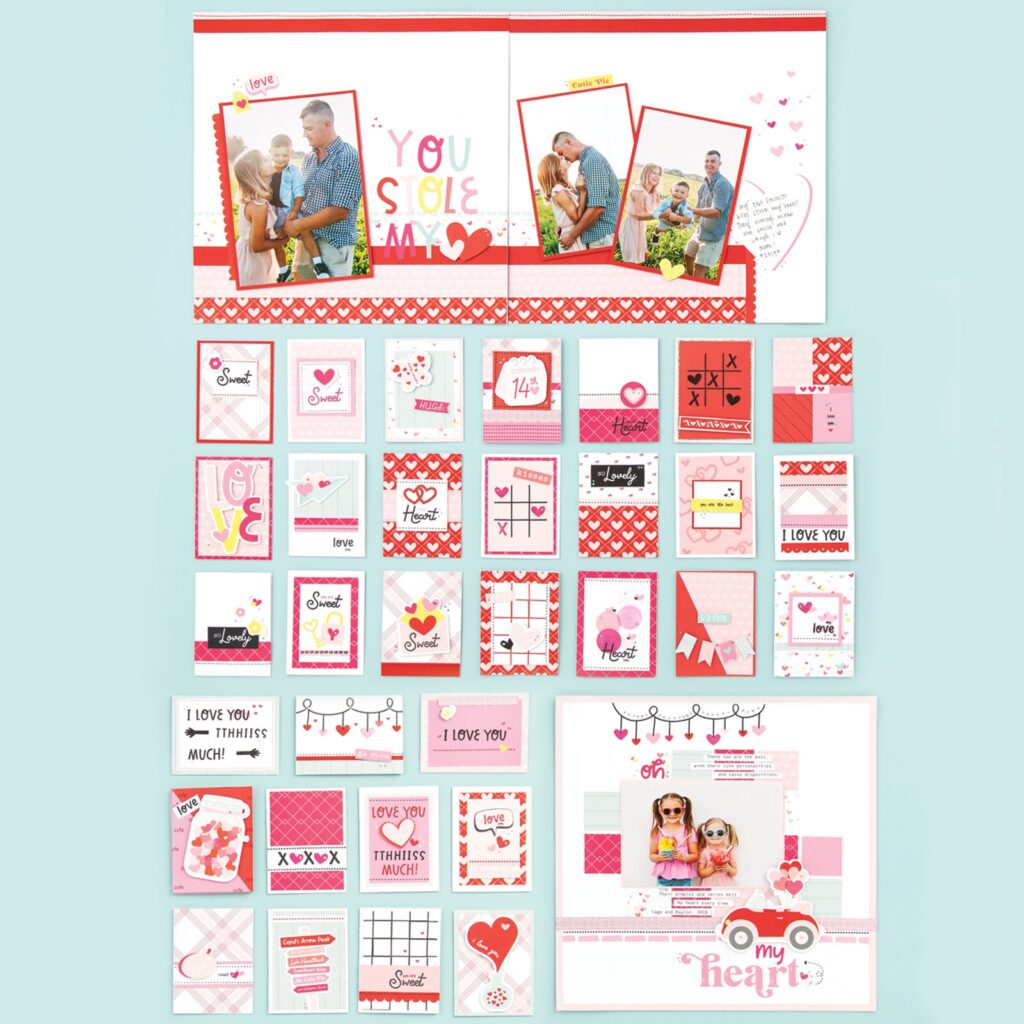
The paper pack includes two each of three different double sided patterned papers. I cut two hearts from each pattern. Then chose which five I liked best since I had six total hearts at that point.
If you don’t like this collection, check out the Love Notes Collection that is now being offered. It’s a little more elegant but less whimsical. I know we all have different tastes when it comes to paper and stickers!
Creating a Photo Banner
I chose to embellish the paper hearts before adding them to the wooden heart. This just makes it easier if you want to trim the photos or stickers around the edges.
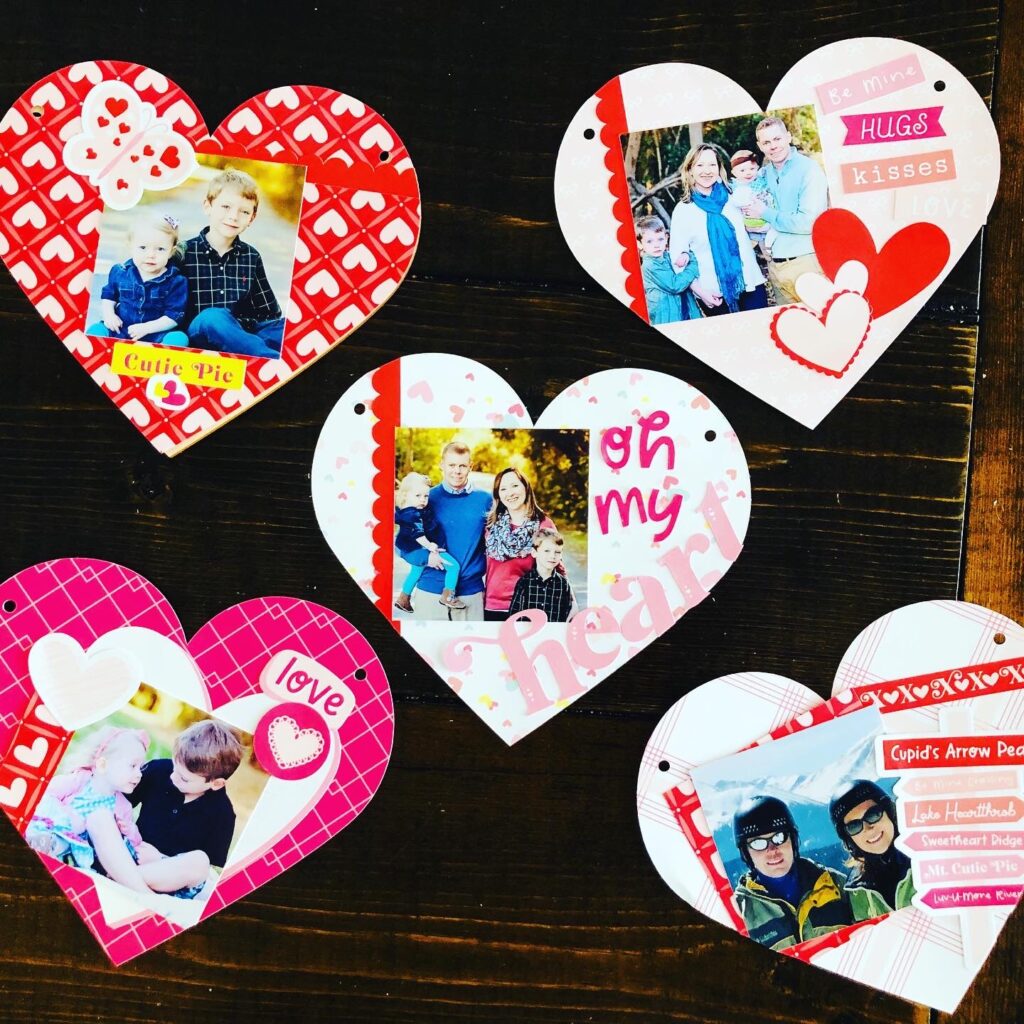
I trimmed the photos all into 2 1/2 inch squares. Then I decided the order I wanted the photos. Using the stickers, I decorated each heart with one photo.
Once I finished embellishing each paper heart, I adhered them onto the wooden hearts with a tape adhesive. The holes were already cut by the Cricut so I was easily able to line them up together.
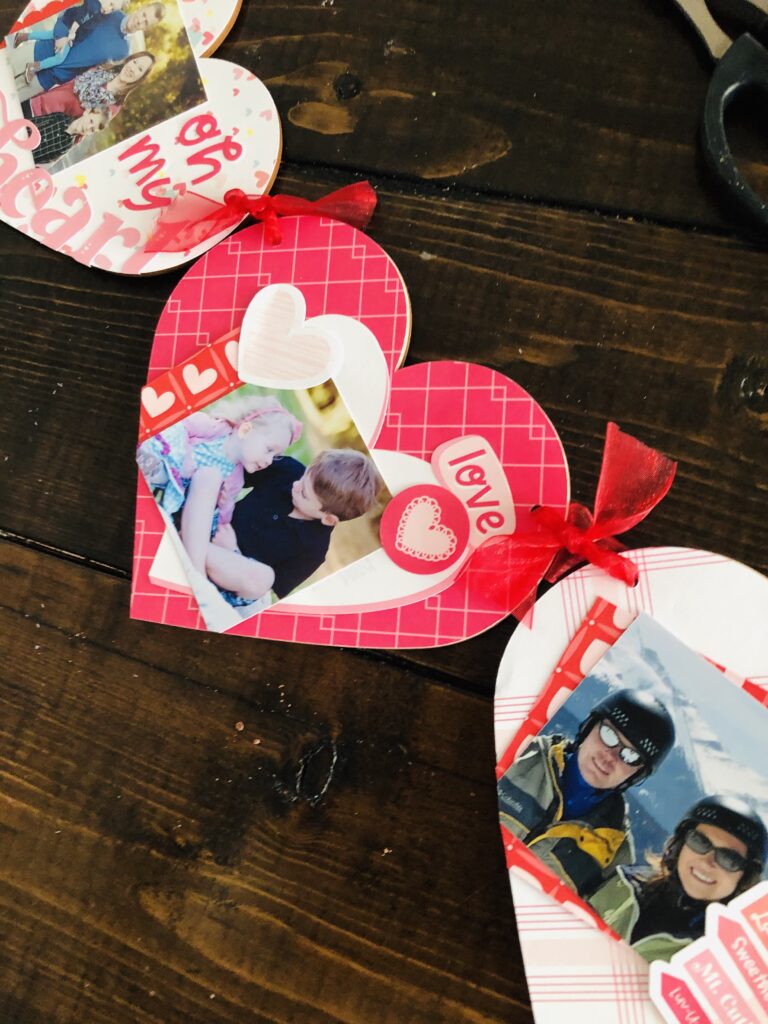
DIY Home Decor for Valentine’s Day
Then I cut pieces of red ribbon to tie the hearts together. I like the look of the tied ribbons. You could also string one long piece of ribbon through them all.
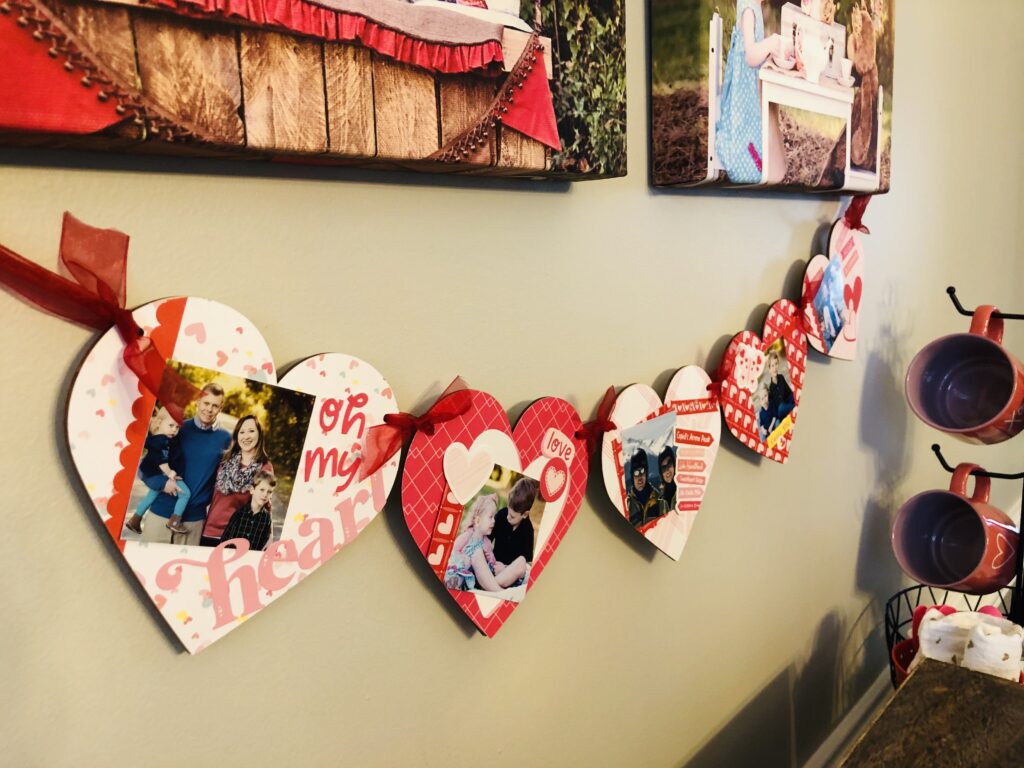
I used a couple of command hooks to hang my photo banner over our coffee bar. It turned out really cute and now I can see all those fun pictures every day.
This banner is really like having a mini scrapbook displayed! I enjoy decorating with photos especially as the kids are getting older. It’s so fun to look back at all those sweet pictures.
