We actually tried Bubble Wrap Painting for the first time last February while making a Valentine Mailbox. My daughter was making it to take to school for her classroom card exchange. We started out decorating it using another art project using paint and cardboard tubes. There was so much pretty paint left over that we had to create more art!
This post does include affiliate links. That means I could earn a tiny portion of any sale that is made through clicking on any of these products with no additional cost to you. All support is greatly appreciated!
Bubble Wrap Painting Supplies
The supplies are super simple for this art activity! You only need a piece of bubble wrap and paint. We also used white cardstock and a paper plate.
Here is a list of supplies we used including the colors for paint. Feel free to change it up and use your own choice of colors.
- Bubble Wrap Pieces
- Paint – pinks, purples, teals and reds
- Paper or Canvas
- Paper Plate to hold paint colors
Bubble Wrap Prints Process Art
Before starting any process art activity, cover the workspace for easy clean up. We used a roll of white craft paper. You could also use newspaper or a disposable table cover.

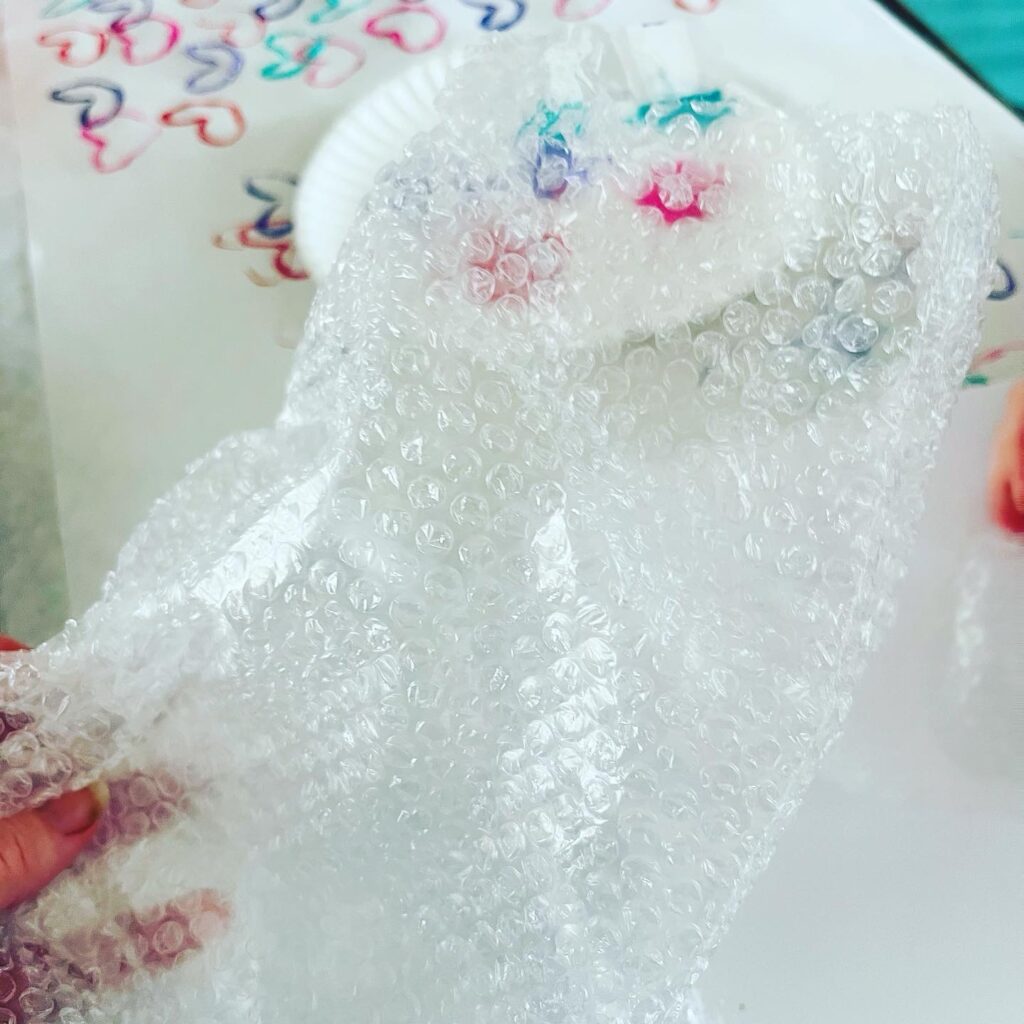
For bubble wrap painting, cut the piece of bubble wrap into the size you prefer. We cut ours into smaller pieces. You could also cut it into the approximate size of your paper.
Then dip the piece of bubble wrap onto the paint palette that you created on the paper plate. Then press it down onto the white cardstock or canvas. You could also do this by using a paintbrush to paint the colors onto the bubble wrap. This would be a better technique if you are looking to create a specific design.
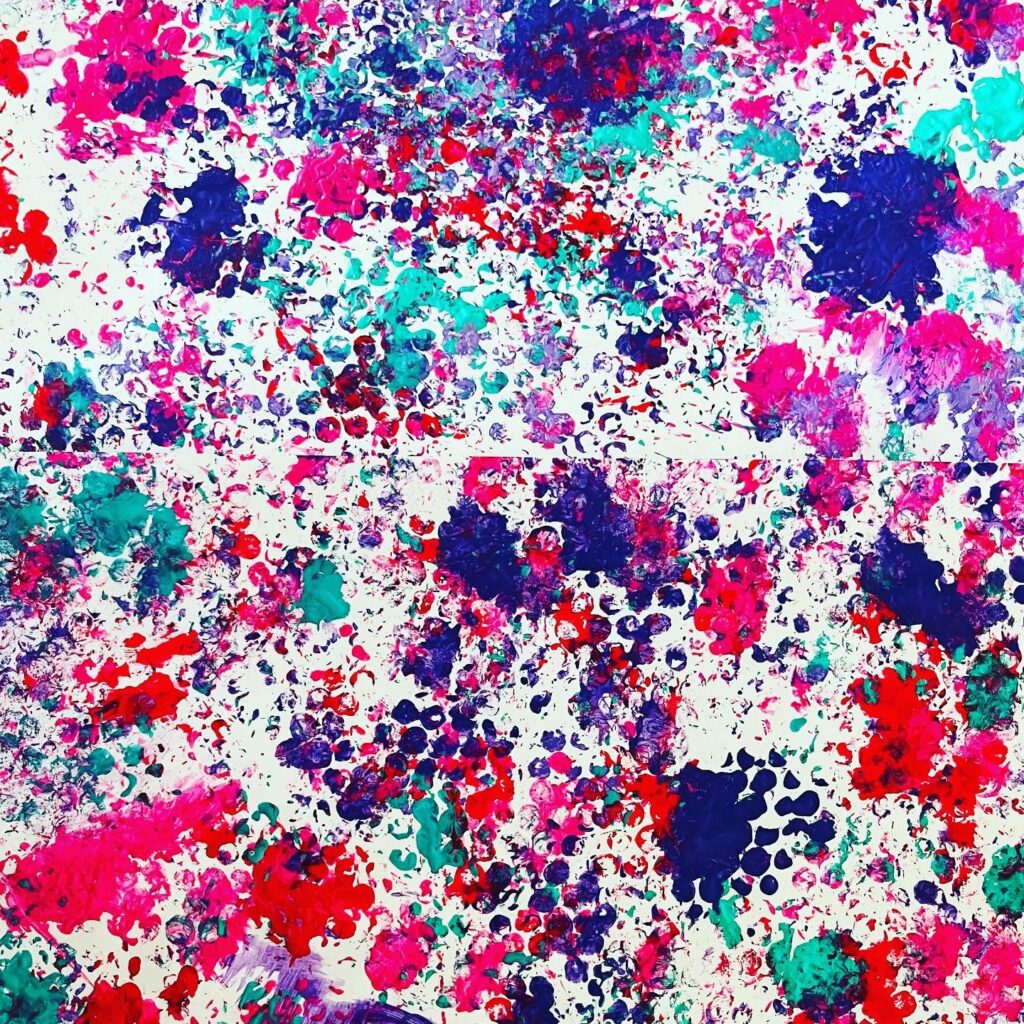
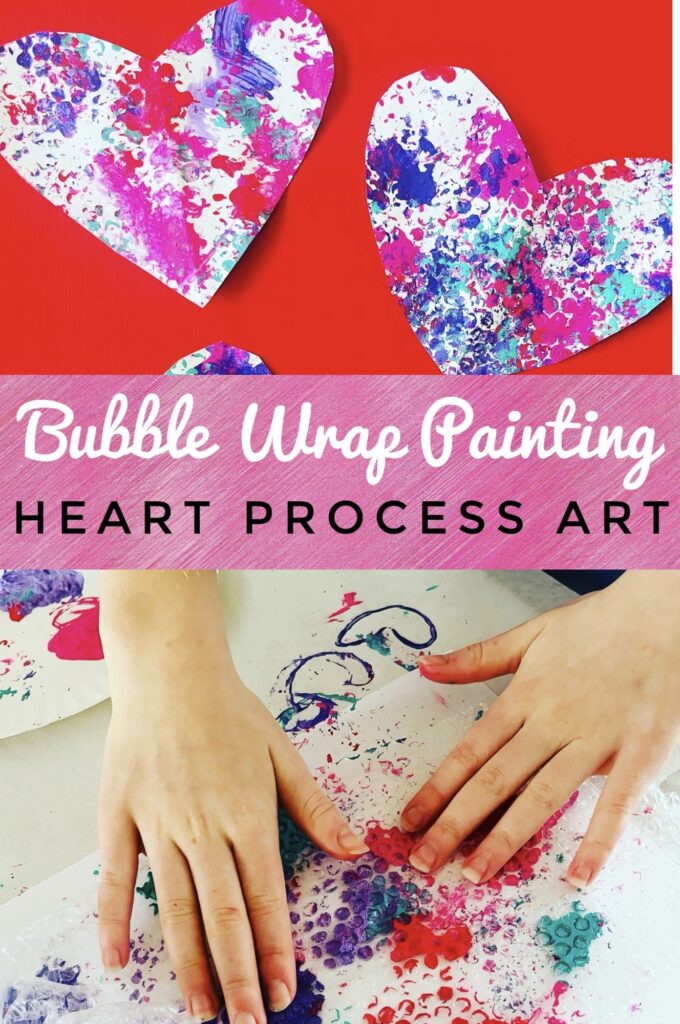
The colors turned out so fun and pretty for this art activity! You could use this for gift wrap or to create more beautiful art projects.
Process Art Heart Creations
We ended up cutting our bubble wrap painting into hearts. Then we used them to decorate the Valentine Mailbox. These would also be perfect to turn into a Valentine Heart Banner.

Looking for more Valentine’s Day Ideas? Be sure to take a look at our Valentine Oobleck or Glitter Heart Crayons. We’ve also done a few other fun process art activities like Nature Painting or Painting with Bubbles.