We have had so much fun with all the snowflake crafts over the past couple of weeks. I decided to surprise the kids last week with a fun snowflake snack after school. These Baked Snowflake Tortillas with Powdered Sugar are super easy to make. They were a big hit with the kiddos too!
Ingredients for Baked Snowflake Tortillas
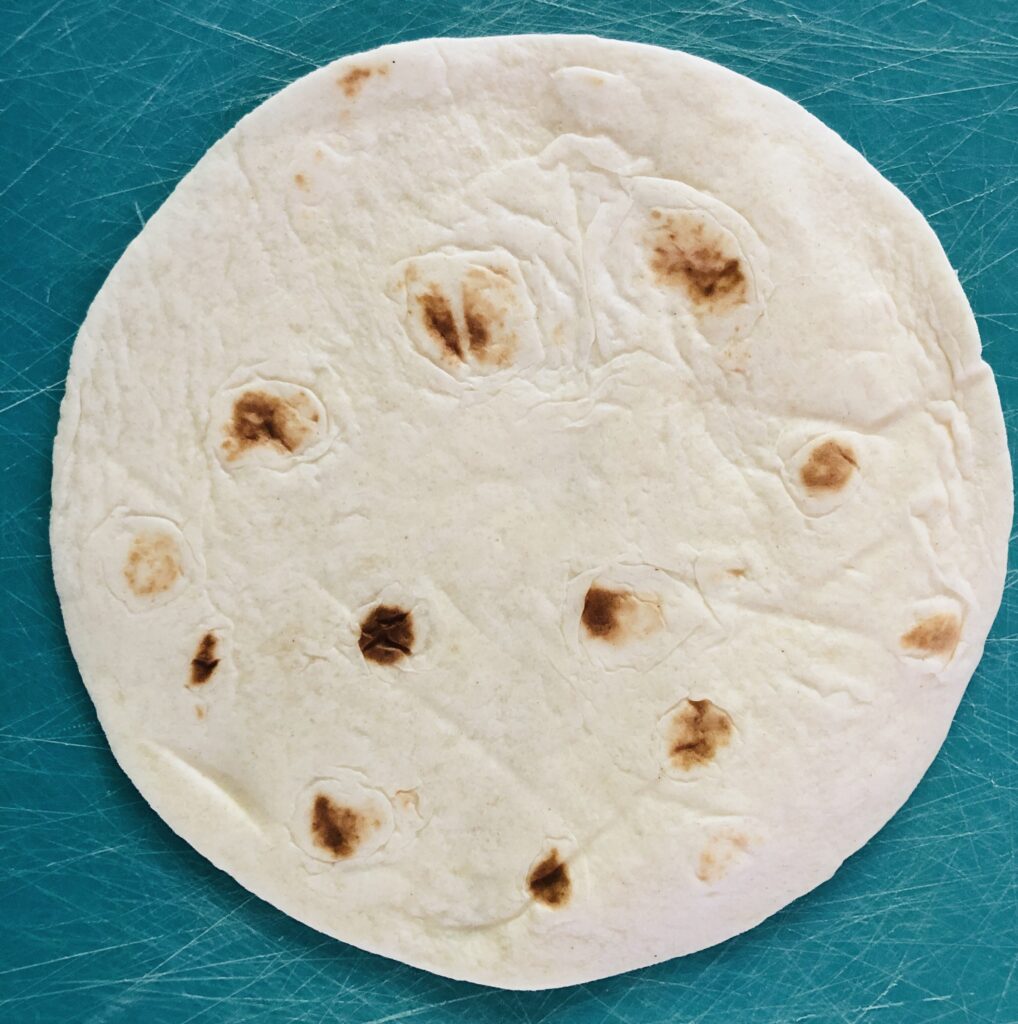
The only ingredients you need for this snack are tortillas, melted butter, and powdered sugar. We used fajita size Flour Tortillas for our snowflakes.
This post does include affiliate links. That means I could earn a tiny portion of any sale that is made through clicking on any of these products with no additional cost to you. All support is greatly appreciated!
I think you could probably use Gluten Free Tortillas if someone in your family has allergies. You would want to try heating them for a few seconds in the microwave first. They would be easier to fold once softened a little. I have never tried it. Please let me know how it works if you do try!
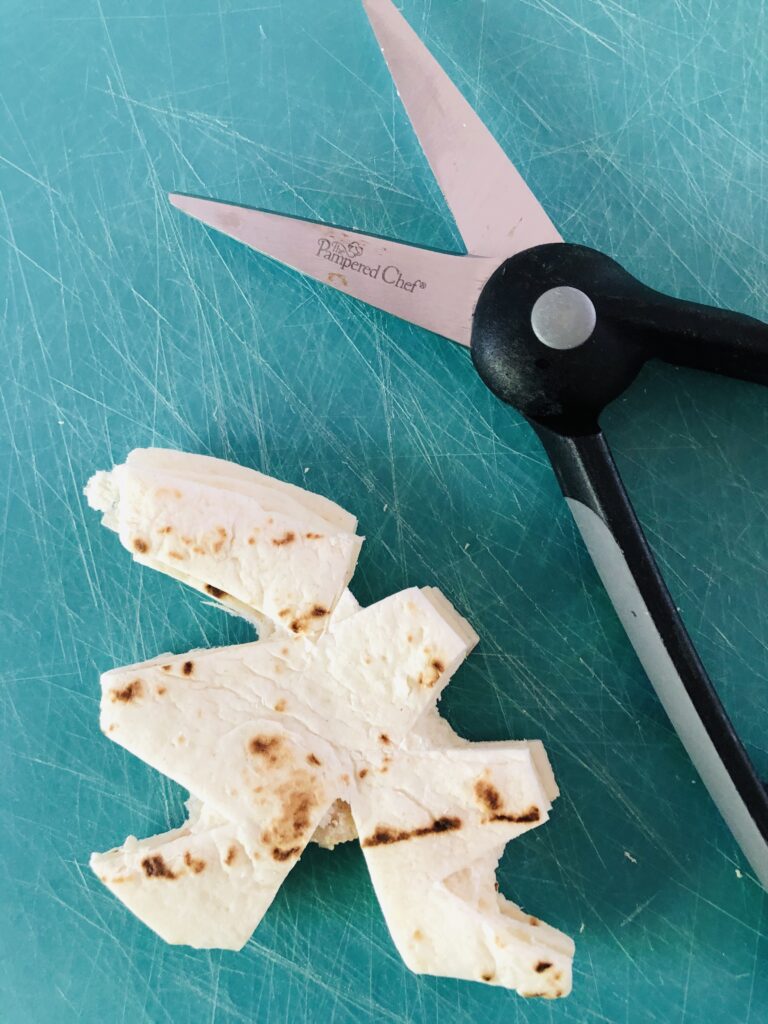
To create the snowflake from a tortilla, start by folding it in half three times. Then use a pair of clean scissors to cut shapes around the edge of the folded tortilla.
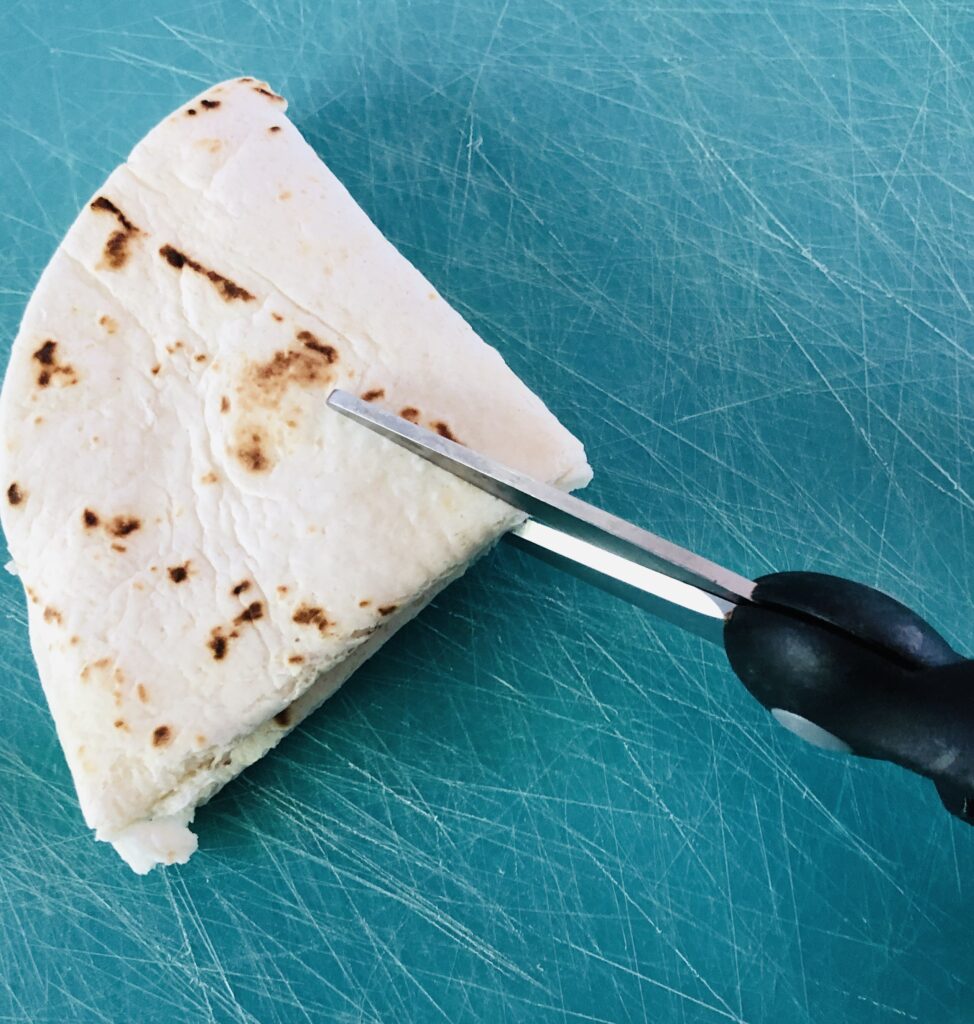
I used a pair of kitchen scissors and the tortillas were very easy to cut.
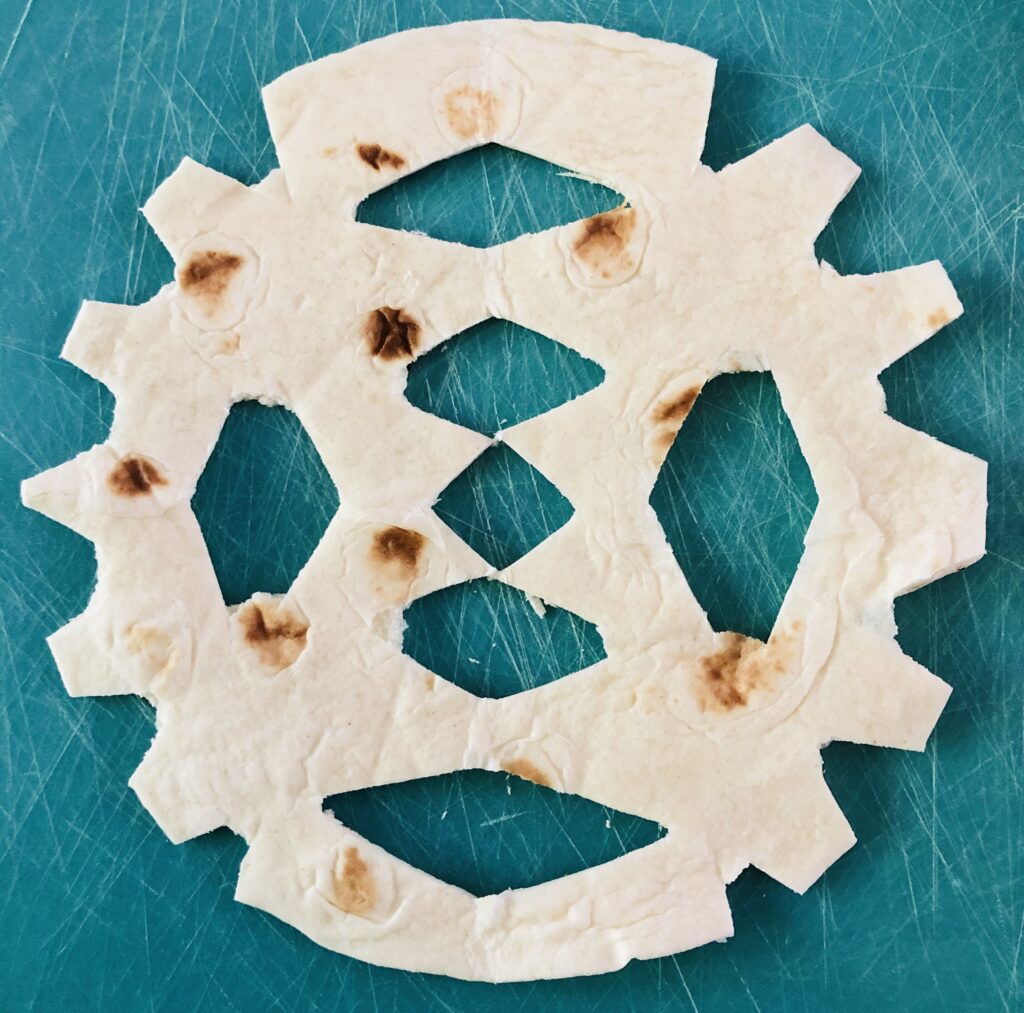
Once you open the tortilla back up, you should have a fun snowflake tortilla! Now you are ready to prepare them to go into the oven.
The next step is to put your snowflake tortillas on a baking sheet. Then use a pastry brush to add the melted butter. You will want to fully coat the snowflakes with the melted butter.
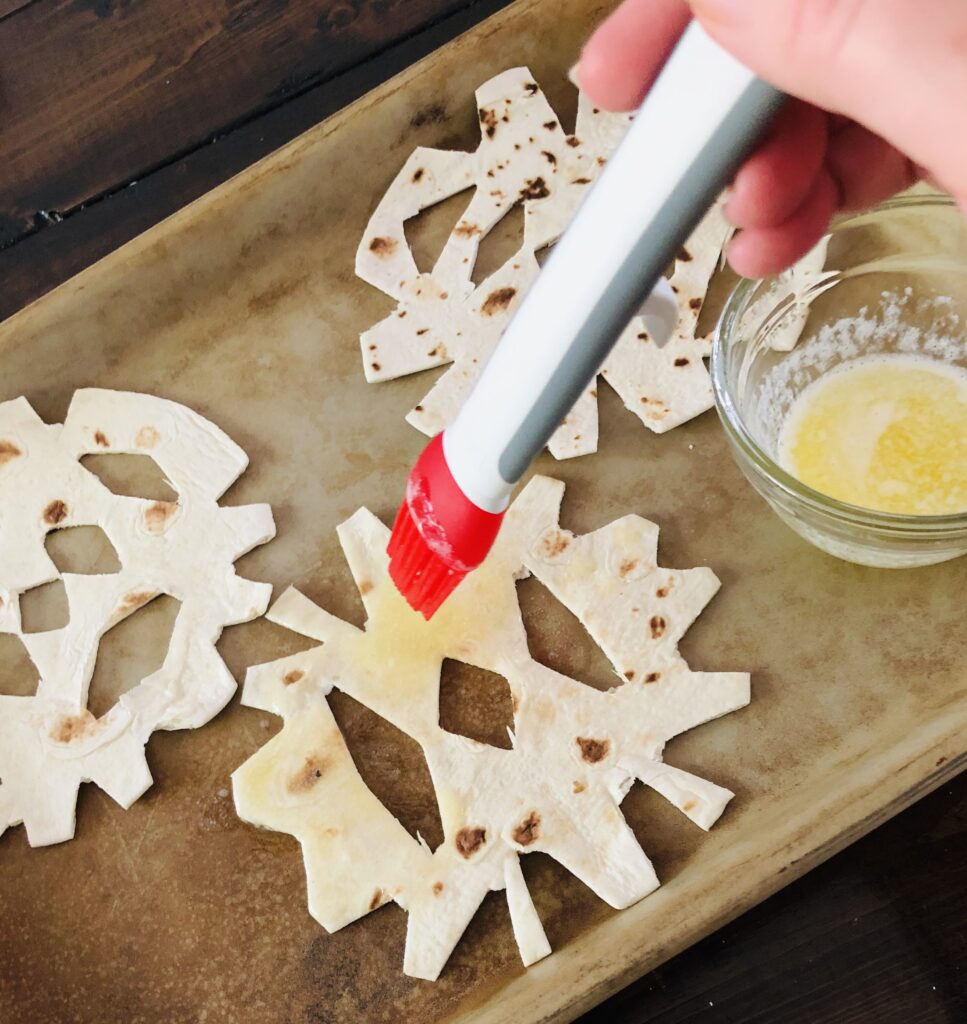
If you prefer not to use butter, you could also use coconut oil for this step. It melts very well and would also go on nicely with the pastry brush.
Baked Snowflake Tortillas with Powdered Sugar
Place the baking sheet of tortillas in a preheated oven. They should bake at 400 degrees for about 8 to 10 minutes.
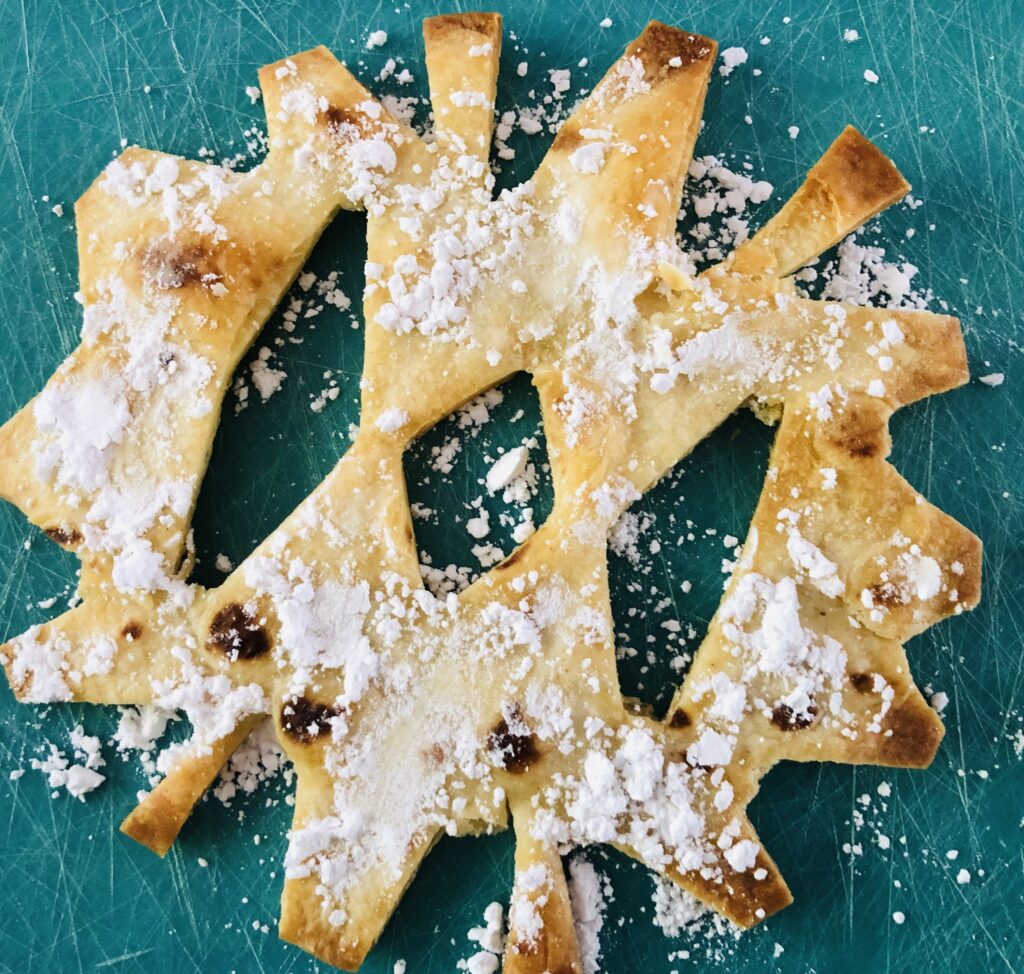
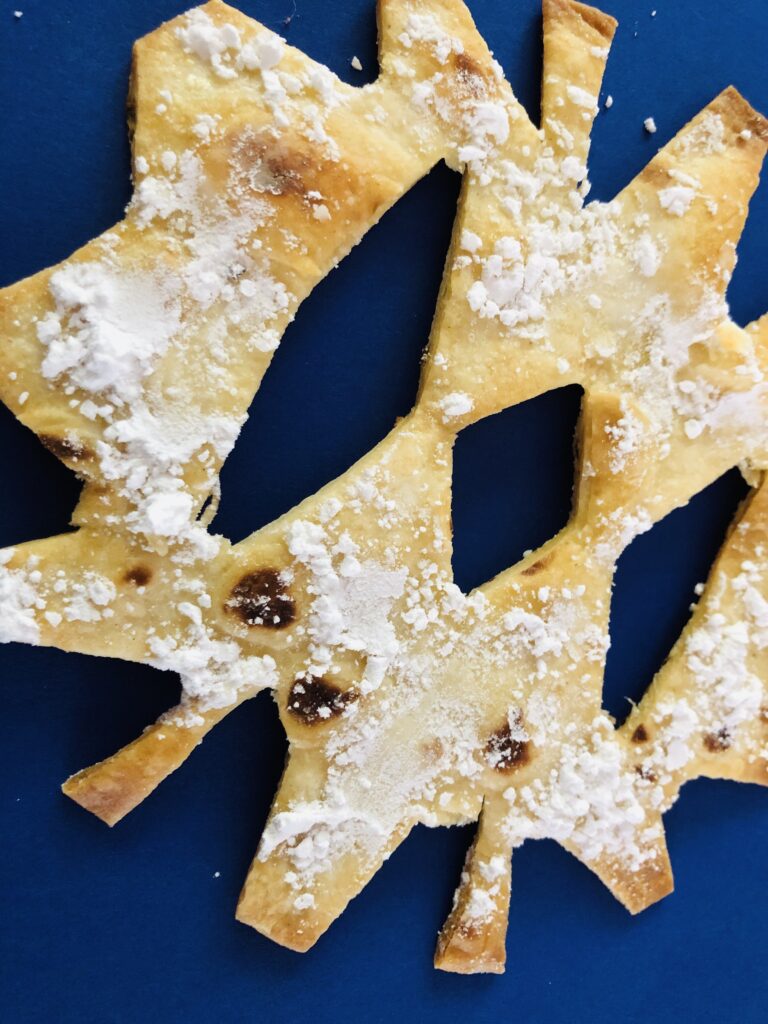
Once the tortillas come out of the oven, sprinkle with powdered sugar. For best results serve warm. I think they taste best right out of the oven….almost like a funnel cake!
I made these snowflake tortillas myself to surprise the kids. They would also be a fun snack craft to do with kids of any age. Kids would enjoy folding the tortillas, brushing on the butter, and sprinkling the powdered sugar.
This would be a great snow day activity! If you need more winter snack crafts, check out our Snowman Donuts and Penguin Cookies. They are both really fun.
