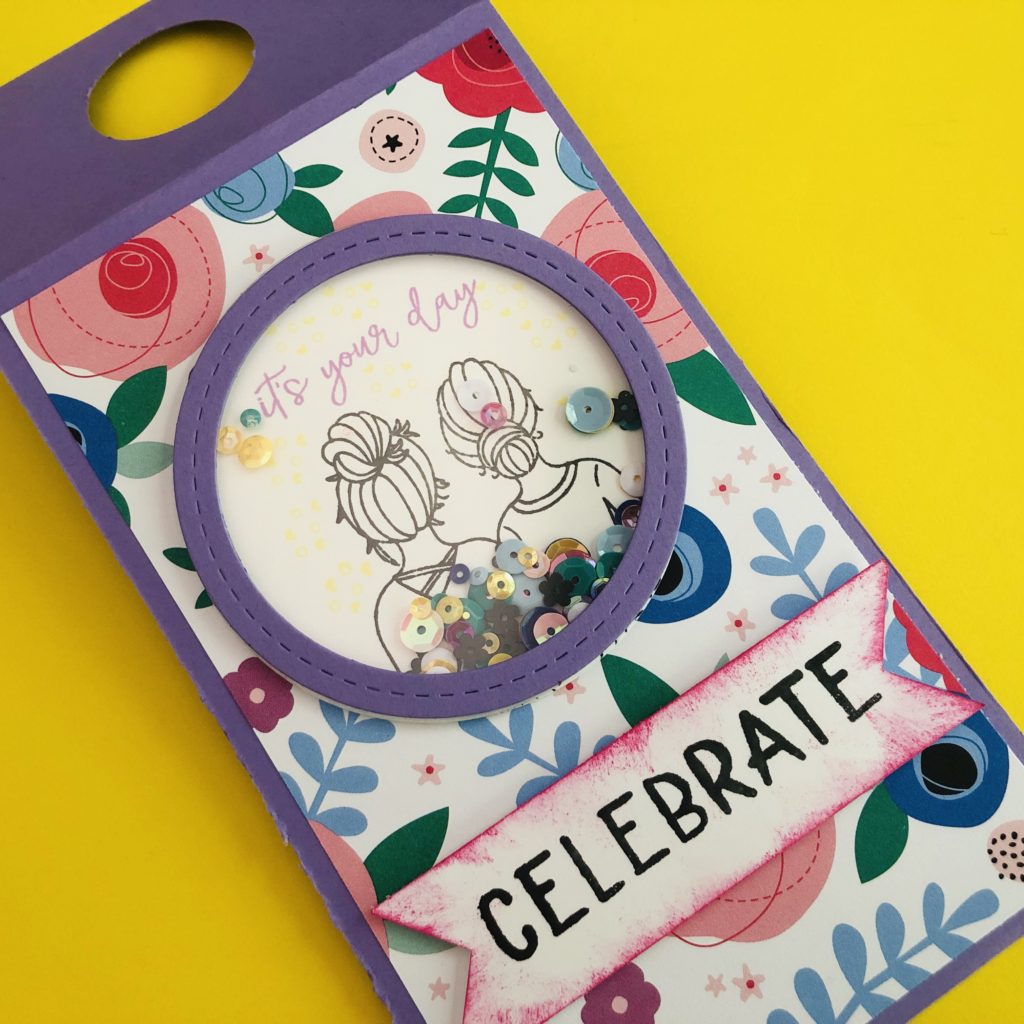
Stamping and scrapbooking are two of my favorite hobbies. When I saw that this month’s theme for our monthly Bring on the Crafts Blog Hop was stamps, I was really excited. Then I saw how beautiful the May Stamp of the Month was and I couldn’t wait to create something. This DIY Wine Bottle Tag ended up being such a fun project.
This post does include affiliate links. That means I could earn a tiny portion of any sale that is made through clicking on any of these products with no additional cost to you. All support is greatly appreciated!
New Product Collections
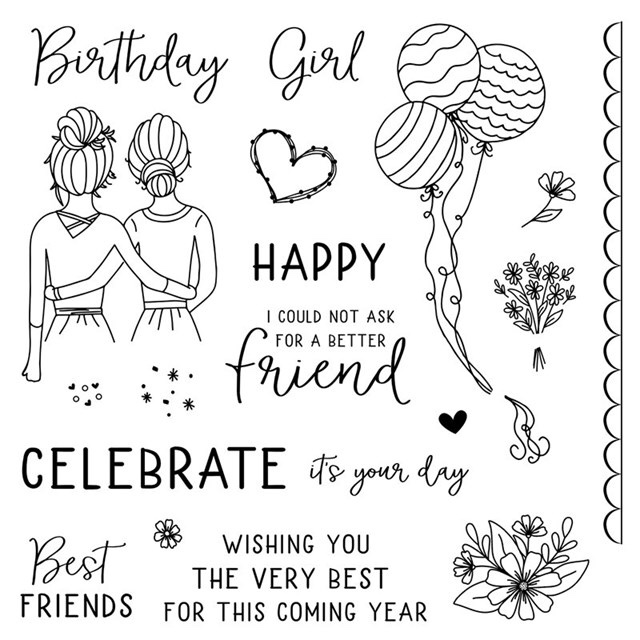
The picture above shows all the wonderful images in the To My Bestie stamp set. It is being offered for only $5 this month with a qualifying order. There is a different stamp set offered each month and most of the time they are all amazing! Don’t fret if you miss out on this offer though. You can make this project with any stamp set.
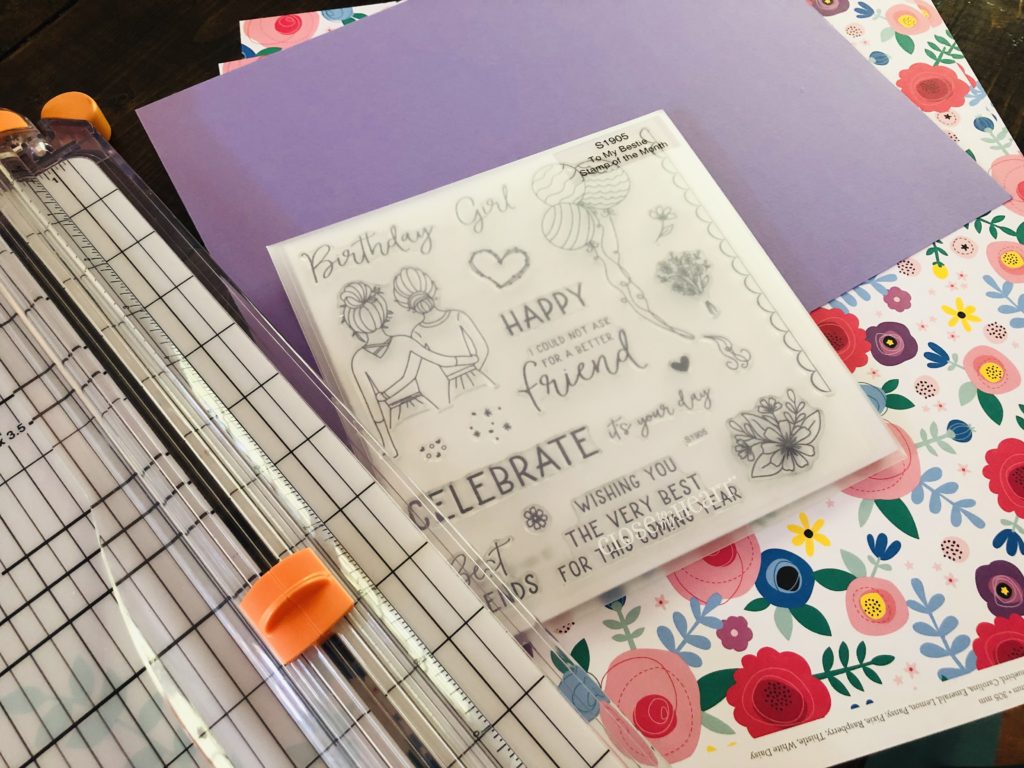
The new catalog from Close to My Heart was released this week and I couldn’t wait to get my hands on the new Craft On paper collection. I love the cheerful colors and pretty prints included in this pack.
I knew this paper would coordinate really well with the To My Bestie stamp set. Since Mother’s Day is right around the corner, I’m going to show you how to make a beautiful wine bottle tag for the special women in your life. I have seen this idea on Etsy and wanted to see if I could recreate it myself. Turns out these DIY Wine Bottle Tags are super simple to make.
Wine Bottle Tag Tutorial
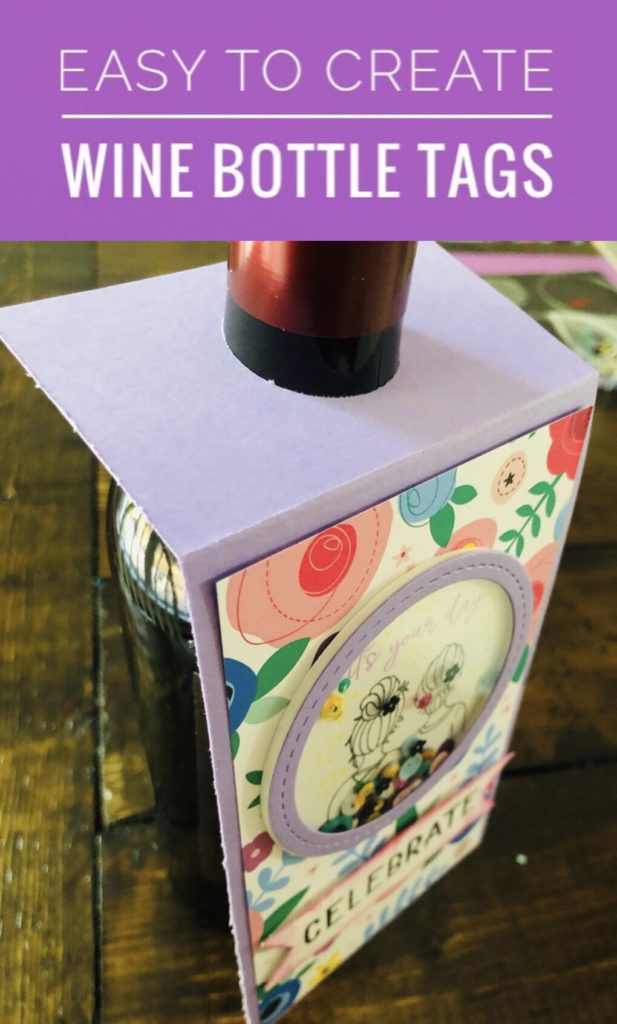
To get started, we will make the base of the tag. I used a piece of 8 1/2 X 11 lavendar cardstock. I cut it into three pieces which ended up being 3 3/4 X 8 1/2. Then I scored the top of the paper 2 1/4 inches from the top. You could just try folding it by hand but I find the scorer on my paper trimmer works better.
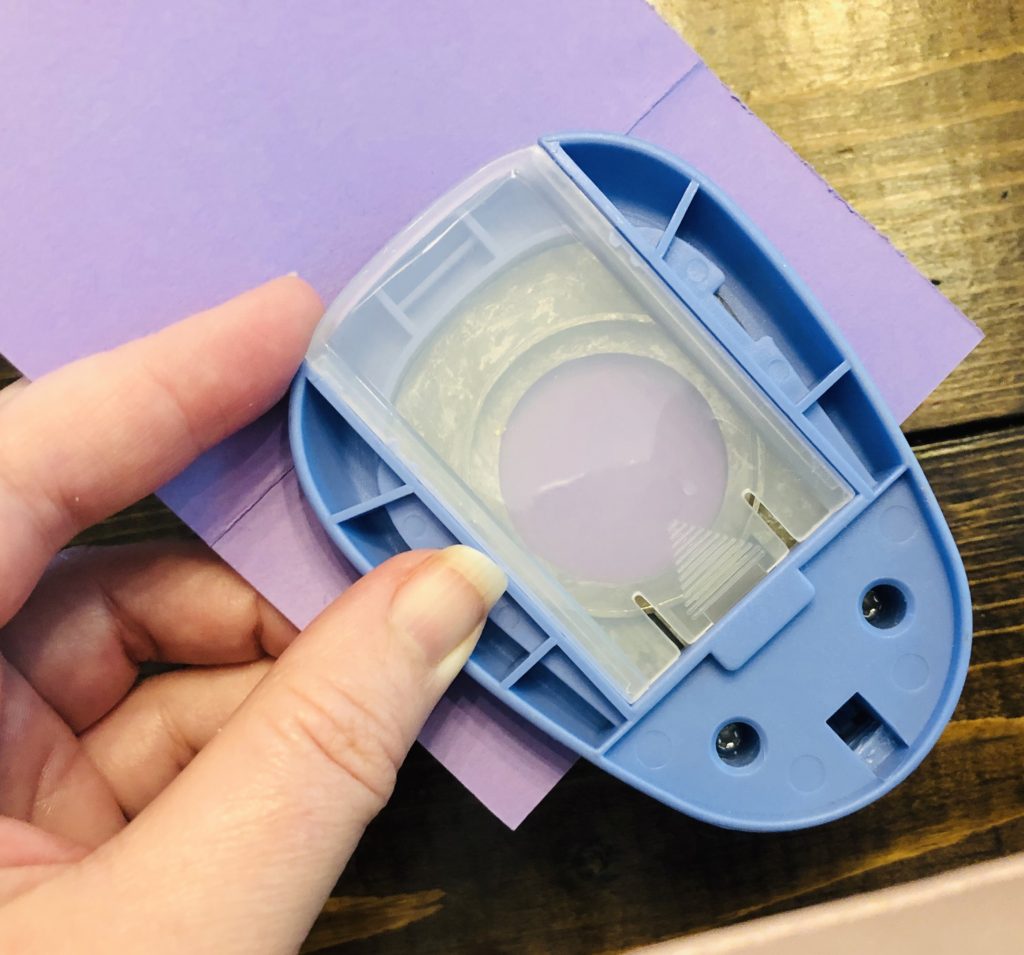
Then, I created the hole at the top, by using a 1 1/4 inch circle punch. Close to My Heart no longer carries this punch but you can find a similar one on Amazon. This was the perfect size circle to slip over the top of the wine bottle.
Once I had the base of the tag created, I had to decide how I wanted to embellish it. I cut a piece of the Craft On patterned paper to layer on top of the tag base. The dimensions were 6 X 3.5. Then I thought it would be fun to add a shaker element to this tag!
Creating a Shaker Embellishment
After making shaker cards over the holidays, I was hooked on this type of embellishment! Close to My Heart has all the supplies you need to make this such an easy project.
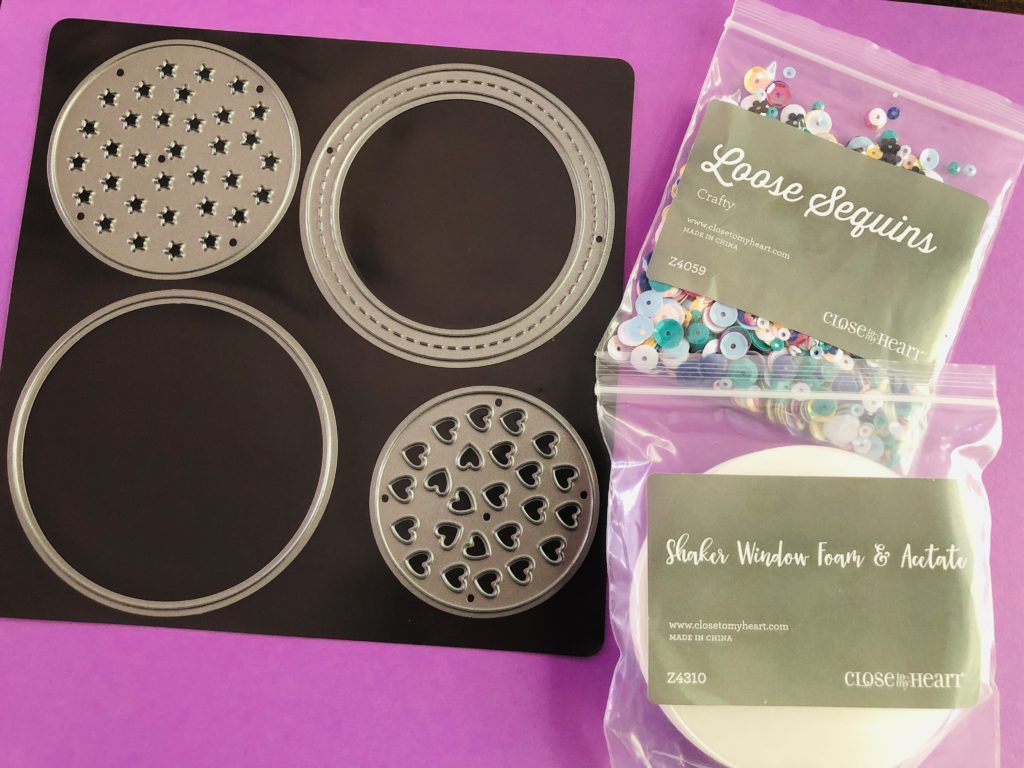
You will need a Cuttlebug Machine or other die cutting machine to complete this project. I purchased a Cuttlebug last year and it is so easy to use. I show exactly how to layer the plates and dies in a prior tutorial.
I used the thin circle included in the Thin Cuts Set to create the base of my shaker embellishment. I chose to do this with white cardstock. Then I cut the thicker circle from the same lavendar cardstock as the tag base.
After that, I used the To My Bestie stamp set to embellish the white circle I cut out. This is the base of the shaker embellishment. Once you are ready, apply the foam circle to the top of that circle base. It has adhesive on both sides. Then add the loose sequins and apply the acetate window.
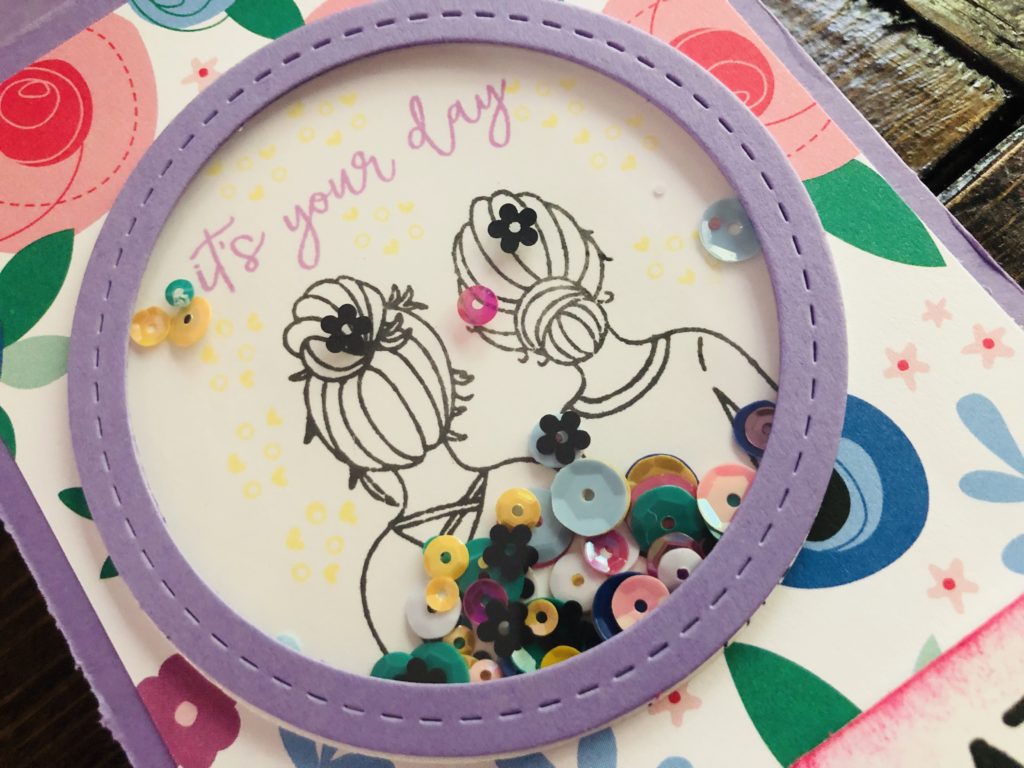
The lavendar circle will then need to be adhered to the top of the window. I use liquid glass for this. Then your shaker embellishment is complete and ready to be adhered to the project.
Finally, I added a small sentiment at the bottom of the tag to complete this project. I chose the word Celebrate from the stamp set I was using. These stamps are so easy to use because you can see exactly where you are stamping.
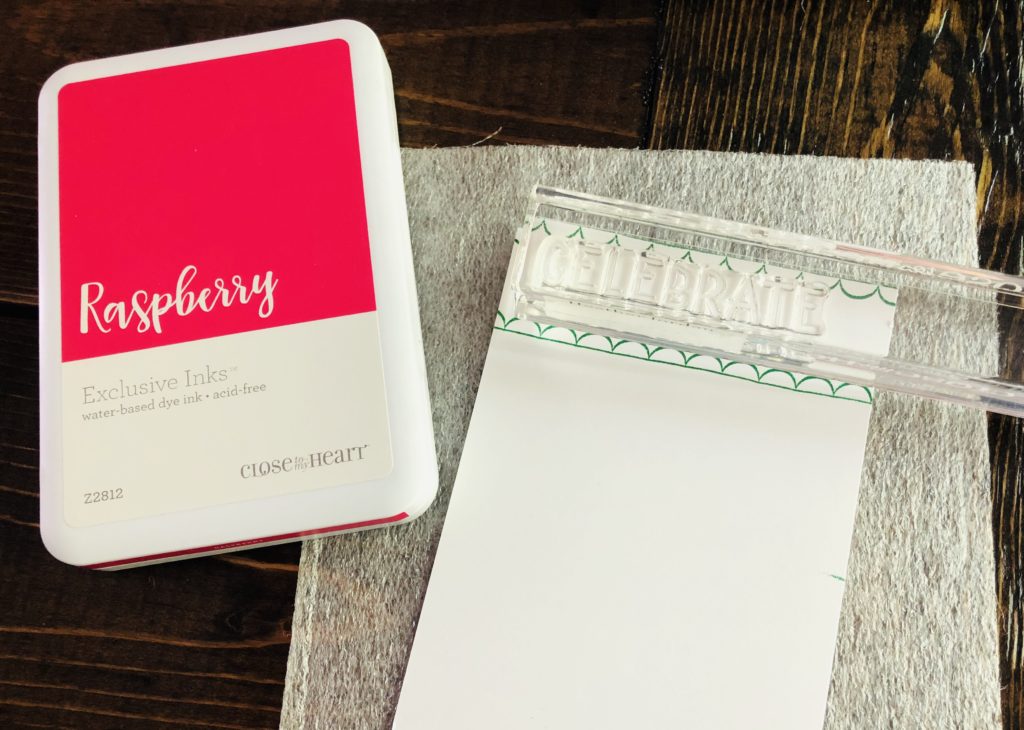
I also like to place the foam insert from the stamp set under my paper to get a clear, crisp image. I ended up cutting this sentiment out and sponging the edges with the Raspberry ink pad.
There you have it! This beautiful wine bottle tag is perfect for a friend, mom, or sister. I also think these would be great to sell at craft fairs. I plan on trying it out at my next one.
This post does include links to my Close to My Heart business site. I am an Independent Consultant and could get commission on these products. I love to spoil my customers with lots of fun products throughout the year! All of these opinions are my own and I would be happy to answer any questions. I appreciate any support!

Bring on the Crafts — A Craft & DIY Blog Hop
On the first Friday through Sunday of each month, a group of DIY and crafty bloggers join forces. Together with hosts Marie from The Inspiration Vault and Habiba from Craftify My Love, they bring you the #BringontheCrafts blog hop. Each blogger creates a fun craft or DIY project to share that follows a monthly materials theme. May’s theme is Stamps! Each blogger chooses their own craft to make as long as they love it and it uses Stamps in the project.
Our April Co-hosts
Jenny at Cookies, Coffee and Crafts Heather at Glitter on a Dime • Marie at DIY Adulation • Michele at Coastal Bohemian • Beverly at Across the Blvd • Gail at Purple Hues & Me
Join in on the fun! If you’d like to participate next month, you can request to join our Bring on the Crafts Facebook Group. Next month’s theme is Fabric!
Not a blogger, but a creative mind none the less!? Don’t worry, Share your awesome creations in our Craft Cult Facebook Group. This is also a great place to ask craft & DIY related questions and find inspiration for your next project.
Now let’s see all of those amazing Craft and DIY Projects!
This tag is so cute and sweet. A great way to tag a bottle of wine. Love it!
Heather, what a wonderful you design you created! I love the pretty paper, the sequins and stamps. So far I haven’t scrapbooked and only stamped twice. I can see that these two are a fun craft. I only have wooden stamps and always end up stamping crooked…now I see the advantage of clear stamps. I will save this project to my gift wrapping board on Pinterest for future reference. There will surely be a wine bottle to give away anytime soon.